AWS Status Portal
Intro
I recently took an interest in the AWS Visual Studio extension and the AWS .NET Core SDK, and came up with this mini-project to showcase some of the neat things you can do with them. This post will show you how to build a (very basic) EC2 status monitoring portal in Blazor.
We’ll use the AWS SDK to query, start and stop instances; and CloudWatch and Lambda to trigger a custom webhook on EC2 status-changed events (the reason for that will become clear later).
Install the AWS Toolkit
Download and intall the AWS Toolkit from the Visual Studio Marketplace. When you launch Visual Studio, follow the setup wizard to create a profile with your AWS Access and Secret Keys. Obviously I yolo’d and used my root account, but you should ideally create a dedicated IAM user that has the level of permissions that you desire / are comfortable with.
The AWS Explorer can then be opened any time from the View menu in VS.
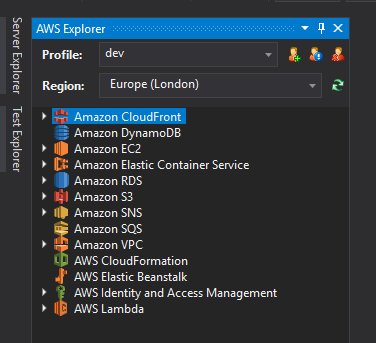
Create the Blazor Server App
Open VS and create a new Blazor Server App (both .NET 5.0 and .NET Core 3.1 are valid options). Because this is just a demo, set authentication to None and uncheck HTTPS. I also went ahead and removed the template components such as the Counter and WeatherForecast page. We’ll keep our code on the main Index.razor page.
My app now looks like this:

AWS Class Library
Now we need to fetch some EC2 information from AWS to display on the page.
It’s good practice to keep this functionality decoupled from the Blazor app itself, so we’ll create a .NET Standard 2.1 Library and dependancy inject it wherever required. (I’m not going to create different Use Cases as per the Clean Architecture as that’s a little OTT for this demo).
The first thing to do is install the AWSSDK.EC2 NuGet package. Then create a new interface, IEC2Instance.cs and declare the following methods:
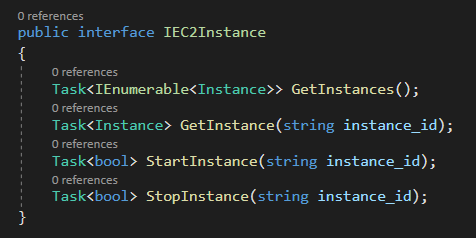
The Instance class is in the Amazon.EC2.Model namespacem which comes from the SDK.
When we come to implement that interface, we need a constructor that will create a new AmazonEC2Client. It requires your access and secret keys as well as a target region (mine is hardcoded to eu-west-2 (London)).
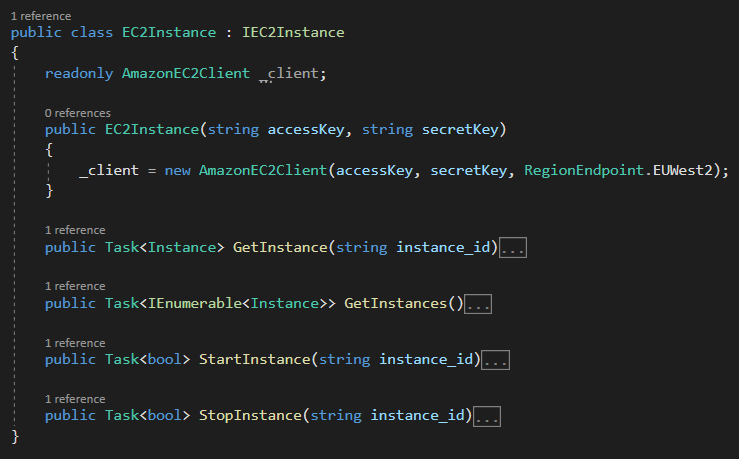
Startup.cs in Blazor is where we add services we want to be made available to the application. In ConfigureServices we can add the following:

The keys can then be added to to your appsettings.json:
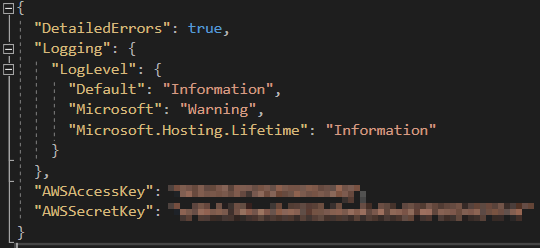
The typical pattern for using this SDK is to create a “request” which you pass to the AmazonEC2Client. So to get a list of all instances, create a DescribeInstancesRequest and pass it to the DescribeInstancesAsync method on the client. The response contains an array of Reservations, each of which contain an array of Instances. We just iterate over them, adding to a new list which is then returned.
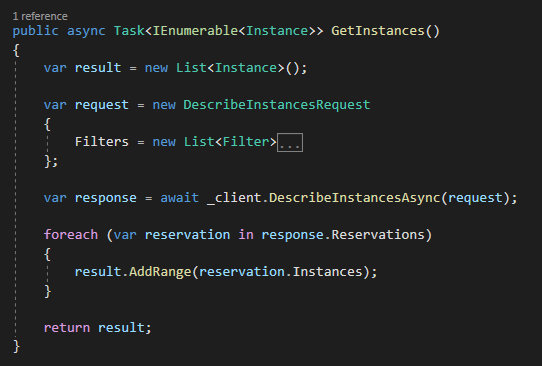
Note: I have a lot of EC2 instances on my account, so I’ve included a filter in the request to only return instances that have a specific tag.
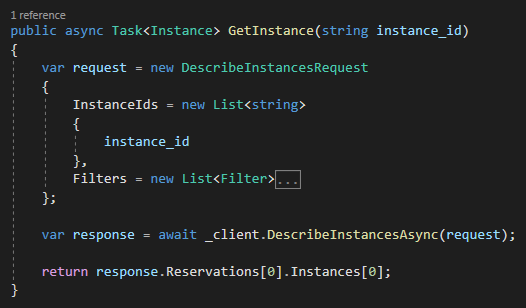
Getting a single instance is practically the same - DescribeInstanceRequest takes am optional list of instance-id’s, and providing a single id should return a single result (no null checking here though, naughty naughty).
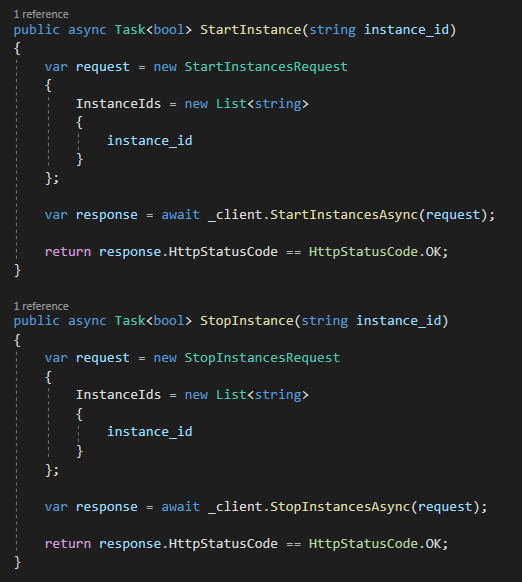
Starting and stopping instances requires StartInstancesRequest and StopInstancesRequest respectively. These methods only return a response code with a bit of metadata, so we can return a bool based on whether a successful response code was returned or not. Although it’s worth noting that if an instance is already in a stopped state and we submit a stop request, the return code is still OK. The status code only really pertains to invalid/malformed requests.
Checking the current status of an instance before submitted a request should be carried out in a business logic layer, but we’re not going to worry about for this demo.
Rendering on the page
Now that we have this library sorted, it’s time to execute it from our Blazor page and display the output.
At the top of the index page we can inject our IEC2Instance interface as a dependancy, and then use some questionable Bootstrap layout to display the instance data.

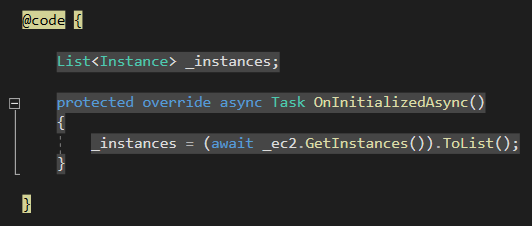
We can override various points in a Blazor page’s lifecycle, which enables us to fetch the EC2 data when the page loads. Here, I’ve overridden OnInitializedAsync.
Running the application, I now see this:
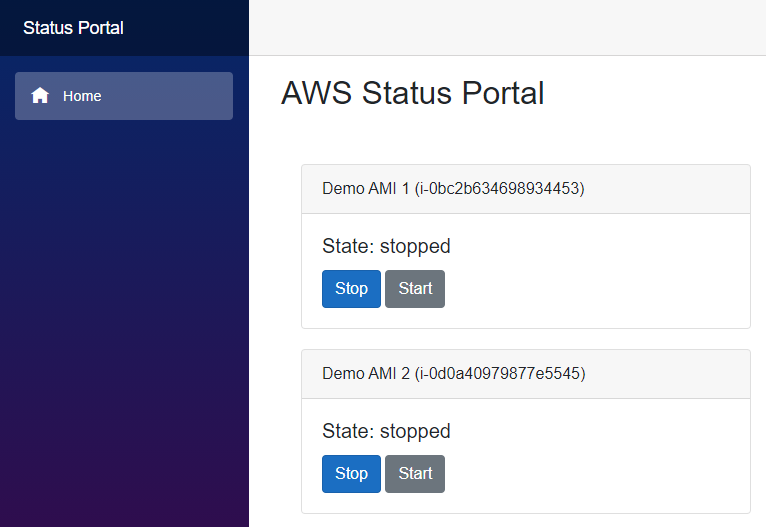
Pretty cool so far. Now let’s wire up those buttons.
Add two methods below that will simply call the methods on IEC2Instance.
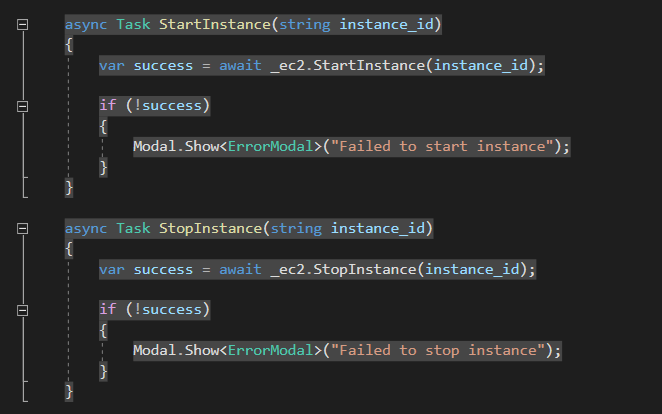
Check out Chris Sainty’s Blazored repo’s for some excellent Blazor libraries, including this Model one.

Let’s give it a try by clicking on the Start buttons… Once they’re clicked, it will appear as though nothing is happening - there is no feedback on the UI. However, if we manually refresh the page, the statuses will update.
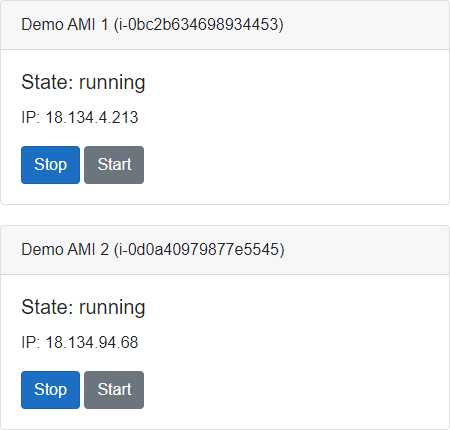
Likewise, if we click stop refresh, we’ll see them in a “stopping” state.
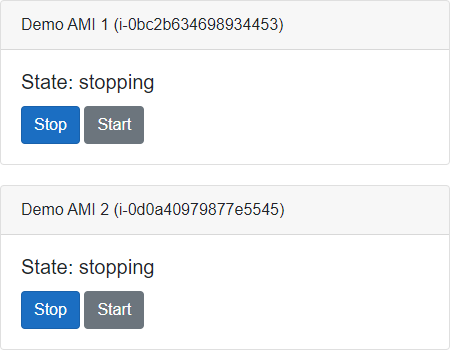
Real-time Updates?
EC2 Instances have a lifecycle that they move through when they are launched, rebooted, started, stopped and terminated. If an instance is started from a stopped state, it will go [stopped] > [pending] > [running] and if stopped from a running state, it will go [running] > [stopping] > [stopped].
We want our UI to respond to each state change, but without running our GetInstances method in a loop (because that’s stupid and inefficient). Turns out, this is completely possible using CloudWatch and Lambda.
CloudWatch has a large collection of events that you can trigger actions from - one such event is the EC2 Instance State-change Notification. When this rule is triggered, we can invoke one or more actions including an SNS topic, Lambda function, SSM Automation and more.
We’ll create a webhook receiver in our Blazor application and a corresponding Lambda function that will notify our UI when an EC2 instance has changed its state.
Webhook Receiver
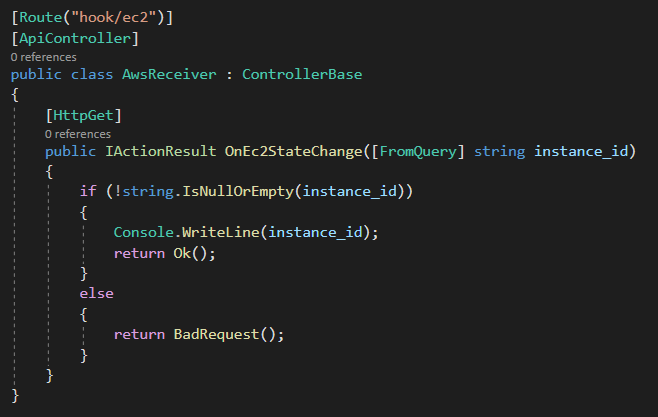
The webhook is going to be a very simple Controller with a GET method. The expected incoming format will be http://{url}/hook/ec2?instance_id=blah.
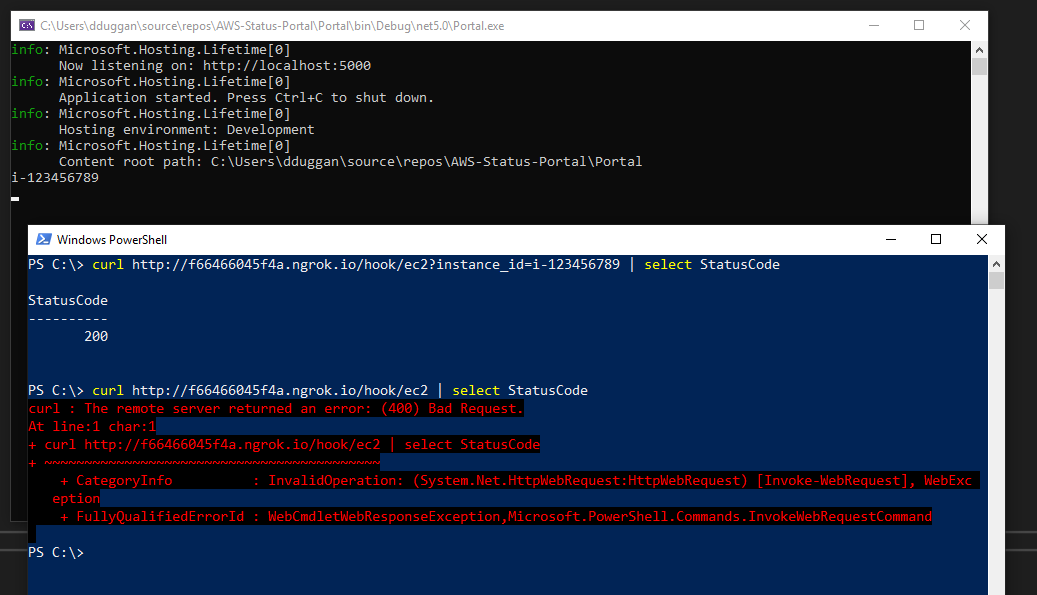
This code is just for testing - if the instance id is null, we return a 400 Bad Request, otherwise we print the id to the console and return a 200 OK. We also need to make this endpoint available on the Internet so that AWS can reach it - the most logical solution to this is ngrok.
Note: Make sure to add endpoints.MapControllers(); to the Blazor Startup.cs.
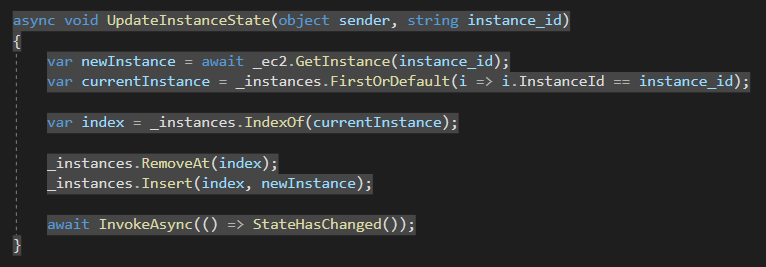
Now we just need to link this endpoint with a way of raising changes on the UI. All we’re going to do is trigger the UI to call GetInstance(string instance_id) and then refresh its state. To do that, I’m just going to subscribe to and raise an event. This is probably not the best way, but it’s pretty easy to do.
We’re going to create a new service called IChangeNotification:

The TriggerUpdate method will be called from inside our webhook receiver and will take the instance_id. Within the implementation, we’ll have an EventHandler which TriggerUpdate will simply invoke.
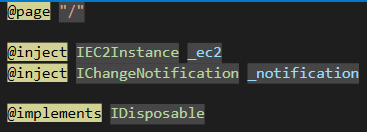
Now when the razor page is initialized, it will subscribe to that event and when invoked, will call UpdateInstanceState. We’ll also implement IDisposable on the page to unsubscribe from the event when we navigate away.


Building the Lambda Function
Now we need to write the actual Lambda function that we’ll invoke from CloudWatch. This function just needs to take in the id of the instance who’s state has changed and call our webhook.
If you’re familiar with Lambda, you’ll know there are a multitude of runtimes that can be used, from Node.js to Python. But we <3 .NET, so we’ll use the .NET Core 3.1 runtime. There are actually loads of .NET templates that we can download via NuGet to get us started.
C:\Users\dduggan\source\repos\AWS-Status-Portal>dotnet new -i Amazon.Lambda.Templates
Create a new empty Lambda function:
C:\Users\dduggan\source\repos\AWS-Status-Portal>dotnet new lambda.EmptyFunction --name NotifyEC2Webhook --profile dev --region eu-west-2
The template "Lambda Empty Function" was created successfully.
Note: The “dev” profile is what I setup in the AWS Visual Studio extension.
We can now add this project into our VS solution, and this is what it looks like:
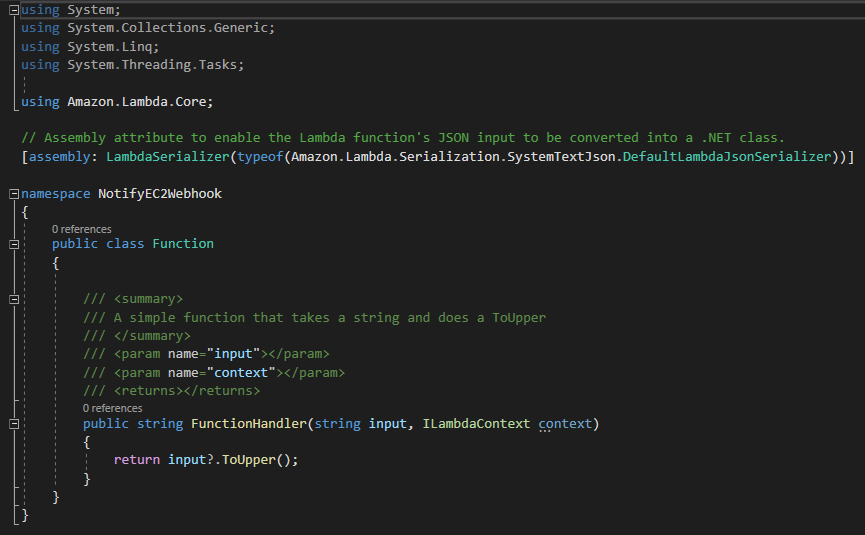
The FunctionHandler takes in a string input by default - we’ll keep this as we’re expecting the instance_id to be the input, but we can remove the return type since we’re not returning anything.
My implementation looks like this:
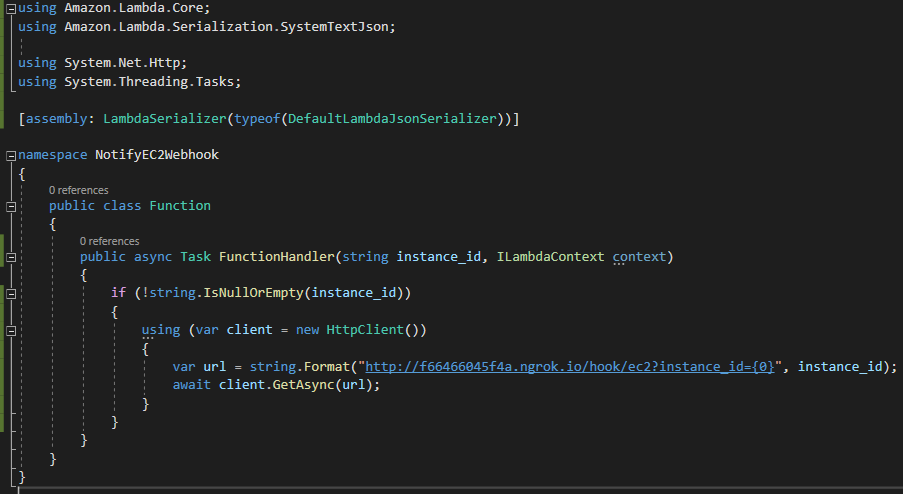
You can deploy the whole project from the command-line:
C:\Users\dduggan\source\repos\AWS-Status-Portal\NotifyEC2Webhook\src\NotifyEC2Webhook>dotnet lambda deploy-function NotifyEC2Webhook
Go over to the AWS Lambda page and you’ll see your Lambda function there:

We can (and should) test this function after deployment.
Click on the function name to go to its configuration options - in the top-right click Configure test events and create a new test event with a dummy instance_id (such as “i-123456789”). Place a breakpoint somewhere in the webhook controller and click the Test button.

You should see a hit in your ngrok log and your breakpoint should be hit. Verify that the instance_id field has the correct dummy data within it.
The next step is to link a CloudWatch rule to this Lambda.
Create CloudWatch Rule
Head on over to CloudWatch > Rules > Create rule.
Make sure Event Pattern is selected, then choose EC2 from the Service Name dropdown and EC2 Instance State-change Notification from Event Type.
On the right-hand-side, click Add target, select Lamba function and select your NotifyEC2Webhook function.
Under Configure input, select Input Transformer. In the Input Path (top) box, enter { “instance” : “$.detail.instance-id” } and in the Input Template (bottom) box, enter "<instance>".

Next, click Configure details, give the rule a name (I called it EC2StateChangedRule) and click Create rule.
Now all we have to do is test it…
